Whether you are putting together a technical software tutorial, saving an online payment receipt for your records, archiving a funny chat message, or reporting a bug to your IT department, knowing how to take a screenshot on Windows 11 is an essential daily computer skill.
Gone are the days when capturing your computer display meant hitting a single clunky key and hoping your clipboard didn't wipe itself before you could paste the image into MS Paint. Windows 11 brings a remarkably polished, modern set of built-in capture tools. From precision rectangular snips and automatic file saves to recording screen action videos, Windows 11 gives you everything you need right out of the box.
This comprehensive, human-written guide covers every native method, hidden shortcut, and advanced trick to capture your Windows 11 screen effortlessly.
1. The Modern Standard: The Snipping Tool (Win + Shift + S)
Without a doubt, the most flexible and widely used method for capturing screen content on Windows 11 is the built-in Snipping Tool shortcut. It allows you to grab exactly what you need without capturing unnecessary clutter.
How to Use It:
-
Press Windows Key + Shift + S simultaneously on your keyboard.
-
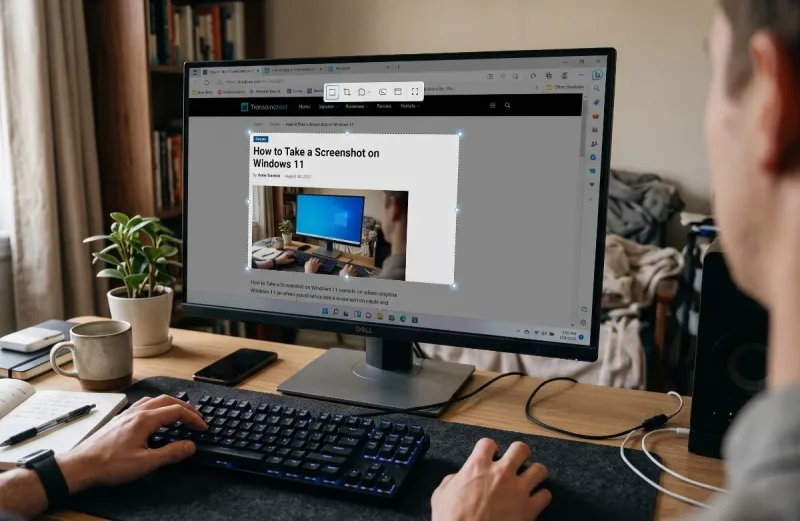
Your entire display will dim slightly, and a sleek, compact toolbar will float near the top center of your screen.
-
Choose one of the four capture modes available on the toolbar:
-
Rectangular Snip: Click and drag your mouse cursor to draw a precise box around any area you want to save.
-
Freeform Snip: Draw any custom, hand-drawn shape around an object or block of text.
-
Window Snip: Hover your mouse over any open application window (like a browser or folder) and click once to capture just that window cleanly, omitting your desktop wallpaper and background clutter.
-
Fullscreen Snip: Instantly captures your entire monitor setup with a single click.
-
-
Once you complete your selection, the image copies automatically to your system clipboard.
-
A subtle notification toast will pop up in the bottom-right corner of your screen. Click it to open the full Snipping Tool editor, where you can crop the image, draw highlights, add text annotations, or save it as an image file.
2. The One-Button Wonder: Using the Print Screen Key (PrtScn)
If you prefer a faster, single-key workflow, the classic Print Screen key remains fully supported in Windows 11, with a few modern enhancements.
Instant Clipboard Copy (PrtScn)
-
Press the PrtScn (or Print Screen) key on your keyboard.
-
This immediately takes a snapshot of your entire display and sends it to your system clipboard.
-
Open any program that accepts images—such as Microsoft Word, Google Docs, an email draft, or Adobe Photoshop—and press Ctrl + V to paste your screenshot.
Supercharging the Print Screen Key (Auto-Open Snipping Tool)
Many users prefer hitting PrtScn to instantly launch the modern cropping toolbar rather than memorizing Win + Shift + S. You can configure this in seconds:
-
Open your Windows 11 Settings app (press
Win + I). -
Navigate to Accessibility in the left sidebar, then click on Keyboard.
-
Locate the toggle labeled "Use the Print Screen button to open screen capture" and switch it to On.
-
From now on, pressing just the
PrtScnkey will instantly bring up the top cropping toolbar.
3. Instant File Auto-Save: No Pasting Required (Win + PrtScn)
If you are documenting a step-by-step tutorial or capturing multiple consecutive screens during a fast-paced presentation, stopping to paste and save each image manually slows you down. Windows 11 has a shortcut designed specifically for automatic file saving:
-
Hold down the Windows Key and press PrtScn.
-
Your screen will briefly flicker or dim for a split second, indicating that a snapshot has been successfully recorded.
-
Windows automatically packages the image into a high-resolution PNG file and stores it locally.
-
To find your saved captures, open File Explorer, click on Pictures in the quick-access menu, and open the Screenshots folder (
C:\Users\[YourUsername]\Pictures\Screenshots). Every image will be neatly numbered in sequence.
4. Isolating Active Programs (Alt + PrtScn)
When you are working with several overlapping windows on your desktop and only want to capture the specific program currently in focus:
-
Click inside the target application window to ensure it is active.
-
Press Alt + PrtScn on your keyboard.
-
Windows captures strictly the boundaries of that active window, ignoring your taskbar and background wallpaper, and copies it directly to your clipboard so you can paste it anywhere.
5. Direct Access to the Snipping Tool App
For advanced captures that require timing or built-in screen recording, you can launch the standalone Snipping Tool application directly:
-
Press the Windows Key, type
Snipping Tool, and hit Enter. -
Click the New button to initiate a capture.
-
Using the Delay Timer: If you need to capture a complex drop-down menu, a hover tooltip, or a right-click context menu that normally disappears the moment you touch your keyboard, click the Delay icon on the app toolbar (which looks like a stopwatch). Set a 3-second, 5-second, or 10-second delay. Click New, quickly open your menu, and let the timer freeze the screen cleanly.
-
Screen Recording: Windows 11 integrates video capture directly into the Snipping Tool. Switch the icon from the camera to the video camera symbol on the top ribbon to record a video clip of your on-screen workflows.
6. Capturing Full-Page Scrolling Webpages
Standard screen capture tools only record what is currently visible within your physical monitor boundaries. When you need to capture an entire long-form article, a lengthy invoice, or a complete terms-of-service agreement, you can use built-in browser tools without installing third-party extensions.
Method A: Microsoft Edge Web Capture
-
Open the target page in Microsoft Edge.
-
Press Ctrl + Shift + S (or click the three-dot menu in the upper-right corner and select Web capture).
-
Click Capture full page.
-
Edge will automatically scroll down the webpage, stitching the full height into a single image canvas ready for markup or saving.
Method B: Google Chrome Developer Tools
-
Open the webpage in Chrome and press F12 (or
Ctrl + Shift + I) to open Developer Tools. -
Press Ctrl + Shift + P to open the command palette.
-
Type
screenshot. -
Select Capture full size screenshot. Chrome will compile and download a high-resolution image of the entire rendered page straight to your Downloads folder.
7. Troubleshooting Common Screenshot Headaches
"My Print Screen Key Doesn't Do Anything"
If you are using a compact laptop or a 60% mechanical keyboard, your physical PrtScn key might share space with another function key (such as F12 or Insert).
-
Try pressing Fn + PrtScn or Fn + Windows Key + PrtScn.
-
Alternatively, rely on Win + Shift + S, which never requires a Print Screen key.
"My Screenshots Come Out Completely Black"
If your captured images turn out solid black, you are likely running into Digital Rights Management (DRM) protections. Streaming services (like Netflix, Disney+, or Prime Video) and secure banking portals intentionally block graphic render buffers from being copied. Turning off Hardware Acceleration in your web browser settings can