
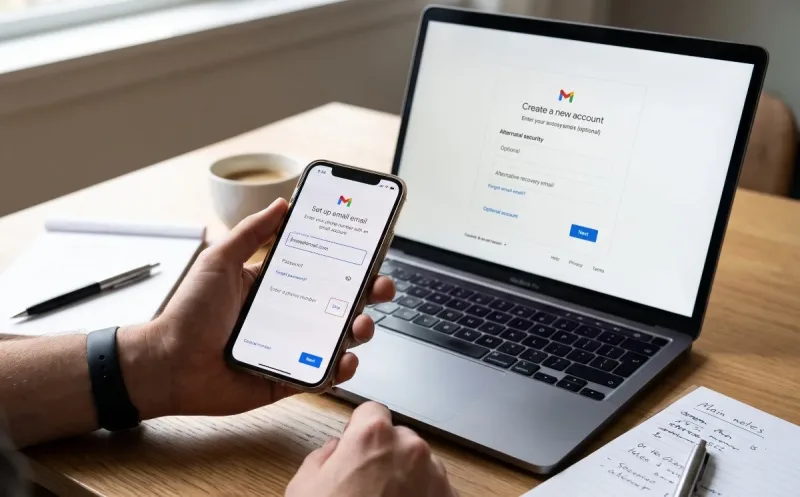
Setting up a fresh email account should be a straightforward task. Yet, almost anyone who has recently tried registering for a new Google account knows the immediate roadblock: the phone verification screen.
For privacy-conscious individuals, digital nomads, freelancers managing separate client projects, or anyone who simply doesn't want their personal mobile number linked to another corporate database, this step feels intrusive. The good news? You do not always need to sacrifice your privacy to get an inbox.
If you are wondering how to create a new gmail account without phone number, this guide walks you through proven, reliable methods, explaining why Google asks for verification in the first place and how to establish a fully functional account safely.
Why Google Demands Phone Numbers in the First Place
Before jumping into the workarounds, it helps to understand why that verification screen appears so aggressively.
Google’s primary goal is fraud prevention and spam mitigation. Automated bots create millions of throwaway accounts daily to distribute phishing campaigns, spam forums, and manipulate online reviews. Requiring a unique telephone number adds a layer of friction that stops mass automated registration in its tracks.
Additionally, Google uses your phone number as a recovery anchor. If you forget your password, lock yourself out with two-factor authentication (2FA), or experience suspicious login activity, an SMS code is their easiest way to verify ownership.
However, Google’s automated risk-scoring system decides when to enforce this requirement. When an account registration looks completely organic, trusted, and normal, the phone number field often remains strictly optional. By understanding the environments Google trusts, you can register without hitting the verification wall.
Method 1: The Android Device Settings Bypass (Highest Success Rate)
Google owns Android. Because mobile devices provide rich hardware-level telemetry, Google often considers sign-ups initiated directly through an Android operating system far more authentic than those coming from a desktop browser.
When you register through Android’s native account manager, Google often lets you skip phone verification entirely.
Step-by-Step Walkthrough
-
Open Device Settings: Unlock your Android smartphone or tablet and navigate to Settings.
-
Locate Account Management: Scroll down and tap Accounts, Passwords & Accounts, or Google (wording varies slightly across Samsung, Xiaomi, and Pixel devices).
-
Add Account: Tap Add Account, then select Google from the list of account types.
-
Authenticate: Verify your fingerprint or enter your lock screen PIN to proceed.
-
Create Account: On the sign-in screen, tap Create account at the bottom left, then choose For my personal use.
-
Enter Basic Details: Provide a first and last name, followed by your birth date and gender.
-
Choose Your Email Address: Pick one of the suggested handles or create your own custom Gmail address.
-
Set a Strong Password: Choose a complex, unique passphrase.
-
The Critical Moment — Skip Phone Number: When the "Add phone number?" screen appears, do not enter your digits. Scroll down to the bottom left corner and look for the Skip button.
-
Accept Terms: Review Google's Privacy Policy and Terms of Service, tap I agree, and your account is active.
Key Takeaway: If the "Skip" button does not appear and verification is mandatory, your device has likely created too many accounts recently. Clear your Google Play Services cache or wait a few days before trying again.
Method 2: The iOS Mail App Route (iPhone & iPad)
Apple users have an equally strong alternative. Setting up a Google account through Apple's native Mail or Settings app bypasses standard browser tracking, frequently allowing users to bypass phone verification.
Step-by-Step Walkthrough
-
Open Settings on iOS: Open your iPhone or iPad Settings.
-
Navigate to Mail: Scroll down and tap Mail, then select Accounts.
-
Add New Account: Tap Add Account, then choose the Google logo.
-
Trigger Registration: A browser modal will pop up asking permission to use Google services. Tap Continue.
-
Initiate Sign-Up: On the Google login card, tap Create account > For my personal use.
-
Fill Out Your Profile: Enter your name, birth details, and preferred Gmail username.
-
Look for the Skip Option: On the verification page, check whether the phone field has an optional label or a visible Skip button at the base of the page.
-
Finalize Setup: Agree to the terms. Once complete, you can toggle Mail syncing off or on inside your iOS settings depending on whether you want the inbox linked to Apple Mail.
Method 3: Clean Desktop Browser Profile (The Anti-Fingerprinting Strategy)
Attempting to create multiple Gmail accounts on your everyday desktop browser almost always triggers a phone verification wall. Why? Because your browser retains cookies, tracking cache, existing Google login sessions, and distinct hardware canvas fingerprints that flag your machine as a high-volume user.
To register successfully on a PC or Mac without a phone prompt, you need to mimic a brand-new, low-risk user.
Steps for a Clean Desktop Sign-Up
-
Create a Fresh Browser Profile:
-
In Google Chrome, click your profile icon in the top-right corner and select Add under "Other profiles."
-
Choose Continue without an account to launch an entirely blank environment with zero historical cookies.
-
-
Avoid Commercial VPNs:
-
This is where many people fail. Commercial VPN server IP addresses (NordVPN, ExpressVPN, Surfshark) are cataloged on public blacklists. Google detects data center IPs instantly and automatically demands a phone number.
-
Use your regular home Wi-Fi or, better yet, tether to your mobile carrier’s cellular data (4G/5G), which assigns dynamic residential IP addresses.
-
-
Head Directly to Account Creation: Navigate straight to
-
Input Realistic Profile Data: Type names and birthdates naturally. Rapid copy-pasting across fields can trigger bot-detection scripts.
-
Check the Phone Number Field: If your profile appears clean and your IP is trusted, Google will display the phone number field with the text: "Phone number (optional)".
-
Supply an Alternative Recovery Email: To maintain security without a phone, provide an existing secondary email address (from Outlook, ProtonMail, or another service) in the optional recovery field.
-
Complete Onboarding: Finish the setup and immediately log into your new inbox.
Workaround Options When Verification Is Unavoidable
Sometimes, regardless of which method you try, Google’s automated algorithms will insist on a phone number. If you are stuck in an enforced verification loop, you still have options that keep your personal cell phone number completely private.
| Method | Cost | Reliability for Gmail | Privacy Level |
| VOIP Apps (Google Voice, Skype) | Free to Low | Poor (Google blocks most VOIP) | Moderate |
| Online Temporary SMS Portals | Free | Extremely Low (Numbers reused/banned) | Poor |
| Prepaid "Burner" SIM Card | Low ($5 – $10) | 100% Guaranteed | Very High |
| Non-VOIP Rental Services (SMS-Activate, PVACodes) | Cents per SMS | High | High |
1. Burner Prepaid SIM Cards
The cleanest, most secure real-world workaround is buying an inexpensive prepaid physical SIM card at a local convenience store or supermarket. Pay with cash, pop the SIM into an old backup phone, receive the single Google activation code, and remove the card. Your actual identity and main phone line stay entirely separated.
2. Specialized Non-VOIP Verification Platforms
Free web-based "receive SMS online" tools rarely work for Google because those public numbers are hammered by thousands of users daily. However, paid non-VOIP services route real carrier SIM lines (AT&T, Verizon, Vodafone) on a temporary basis. For a few cents, you receive an authentic SMS code that satisfies Google’s carrier check without exposing your personal line.
Essential Security: How to Protect an Account Without a Phone Number
Operating a Gmail account without an attached mobile number requires disciplined digital hygiene. If you lose your password and lack both an SMS recovery method and an alternate email, your account is permanently unrecoverable.
Once your new inbox is open, take these steps immediately:
1. Attach a Non-Phone Recovery Email
Navigate to your Google Account Dashboard > Security > Ways we can verify it's you. Add a dedicated secondary recovery email from a privacy-respecting provider such as ProtonMail or Tuta Mail.
2. Generate and Store Offline Backup Codes
Google offers one-time recovery codes that allow you to log in if you ever trigger an identity challenge on an unfamiliar device:
-
Go to Security > 2-Step Verification.
-
Turn on 2FA using an authenticator app (such as Aegis, Ente Auth, or Bitwarden) rather than SMS.
-
Scroll to Backup codes and click Get backup codes.
-
Print these 10 single-use codes or store them inside an encrypted password vault.
3. Maintain Predictable Login Habits
Google flags accounts that jump wildly across geographical zones. For the first two to three weeks of your new account's life:
-
Do not immediately log in through aggressive VPN servers or Tor.
-
Keep the account active by sending a few regular emails or subscribing to a benign newsletter.
-
Stay signed in on the device where you created it to build account trust.
Common Mistakes That Trigger the Phone Verification Wall
If you consistently hit a wall where Google refuses to offer a "Skip" option, check if you are making any of these routine mistakes:
-
Creating Accounts in Rapid Succession: Attempting to make three or four accounts in an afternoon will lock your IP address into a mandatory verification state. Space registrations out by several days.
-
Using Suspicious Incognito Windows on Flagged Networks: Private browsing clears local storage, but it does not mask your network IP or browser fingerprint. Combining Incognito mode with a suspicious network actually raises your fraud score.
-
Underage Age Selection: If you enter a birth year indicating the user is under 13 (or under 16 depending on regional jurisdiction), Google either routes you to Family Link parental supervision or demands strict verification. Set realistic adult age demographics.
-
Automated or Rapid Typing: Entering information through copy-paste macros or filling form fields in milliseconds can trip automated anti-bot scripts.
Final Thoughts
Creating a Gmail account without attaching your private phone number is completely achievable when you understand how Google evaluates risk. By using native mobile device settings on Android or iOS, maintaining a squeaky-clean browser environment, and substituting phone checks with strong authenticator apps and secondary emails, you can protect your digital privacy without being locked out of the world’s most versatile email ecosystem.